Recessed D-rings make the perfect anchor points. They’re strong enough to secure your motorcycle, lawn mower, ATV, or other heavy cargo. And they're low profile, so your cargo can roll right over them.
Here’s a step-by-step guide on how to install recessed D-rings in your truck, trailer, or pickup.
Step 1: Determine Where to Mount the D-Rings
Find a versatile tie-down spot that will allow you to haul all kinds of loads. Front and rear corners are often optimal.

To find additional tie-down spots, load the trailer with everything you normally haul. Move the cargo around until you get a good weight distribution and note where the rings would be needed.
Make sure there are no struts or wires on the underside of your tie down spot.
Step 2: Trace the Mounting Hole
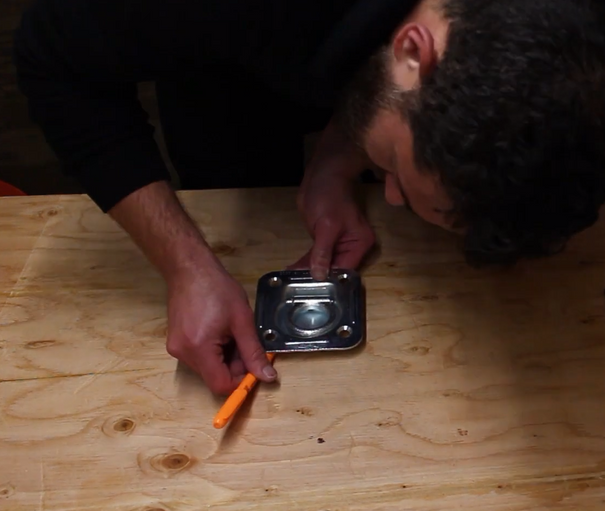
Using the ring pan, trace the hole you want to cut.

If you’re using a mounting plate, use that as a template for the hole.

Step 3: Cut the Hole
Use a standard saw or a hole saw to cut the hole. Double-check all applicable dimensions before cutting.

Once the hole is cut out, place the D-ring in the hole. Use it as the template to drill holes for the bolts.

Step 4: Attach the D-Ring
Insert bolts into all 4 holes.

If you’re using a mounting plate, insert it on the underside of the surface. Finish with bolts, washers and locknuts. Tighten fully.

If you don’t want to cut a hole through your trailer floor, you might want to use flush mount D-rings instead. They have a similar profile to that of recessed D-rings, but do not require you to cut a hole through your trailer floor.


